got the idea from here
Sunday, February 17, 2013
Sunday, February 10, 2013
Banana Invitation
I forget where I saw it first but I loved the peeling banana invitation idea.
Here is my version. I gave my banana a back peel, partly because I thought it would look complete and partly because the off-white card stock wasn't as sturdy as I thought, it was packaged with a piece of cardboard in the middle of the stack.
To tie it into the Curious George theme I made a produce sticker that says Curious? Peel me. I added a generic monkey or banana sticker to the back of the envelope.
How I did it:
Found a clip art banana shape (unpeeled).
Using Paint made it an outline.
Copied outline into Publisher and, using multiple text boxes, filled the top half of banana with details
Grouped the design and copied multiple times on a page, close together. (didn't worry about overlapping/losing the outline of the banana as long as the words were there.)
Printed as many pages as I needed.
Printed 3 banana outlines (in the same size!) on a sturdy card stock.
One outline was cut on the inside of the ink outline (cutting away the black outline) also cut stem off of this one (just eye-balled a rounded top)
Cut on the outside of the other 2, cutting the stem off of one.
Using the smaller stem-less banana, I traced (in pencil) the banana around the words anywhere that the outline had been cut off in publisher.
I cut out the paper bananas, just to the inside of the ink outline/trimming off just a bit of the ink/pencil marking.
The other, slightly larger, bananas were traced onto yellow felt using a brown marker. I traced an even amount of stemmed and stemless felt banana shapes.
Using the same brown marker I colored the stems of the stemmed ones, and added brown blotches (not on the on pictured) and drew the line (where the banana peel separates) down the entire banana of the stemless felt banana.
Next I ran the paper bananas through my xyron, words side up.
The sticker bananas were placed centered onto the stemmed felt banana.
Using the paper banana as a guide, I cut down the stemless felt banana, about half way, just to the bottom of the invite info.
I spread glue evenly onto the bottom, wordless, half of the paper banana, and stuck the cut felt banana to the paper banana, covering the paper banana.
For the stickers:
I found a good quality curious George logo and snipped (screen shot) the image of "Curious", copied in Paint.
Then, using Word, I made a yellow ? with a shadow and snipped/copied it to the Paint also
I had to edit the Curious part a bit so the ? would show up behind it.
(I couldn't match the font of "curious" perfectly so I thought it would work to put the ? Behind in a similar font/different color rather than try to add a ? to the end of the logo.
Under the curious? I put the words "peel me" in the same font as the ? (ms script bold I think). I added the oval around it all to mimic a Dole or Chiquita sticker.
I saved the sticker image to my computer.
Using Avery.com, I put the image onto mailing labels (2 ovals per mailing label, 3 will fit vertically but 2 horizontally gives some wiggle room)
(the image could be printed a bunch of times on paper then ran through the xyron or just glued but I have a small label obsession.)
Cut out the oval and stick to the banana skin.
Here is my version. I gave my banana a back peel, partly because I thought it would look complete and partly because the off-white card stock wasn't as sturdy as I thought, it was packaged with a piece of cardboard in the middle of the stack.
To tie it into the Curious George theme I made a produce sticker that says Curious? Peel me. I added a generic monkey or banana sticker to the back of the envelope.
How I did it:
Found a clip art banana shape (unpeeled).
Using Paint made it an outline.
Copied outline into Publisher and, using multiple text boxes, filled the top half of banana with details
Grouped the design and copied multiple times on a page, close together. (didn't worry about overlapping/losing the outline of the banana as long as the words were there.)
Printed as many pages as I needed.
Printed 3 banana outlines (in the same size!) on a sturdy card stock.
One outline was cut on the inside of the ink outline (cutting away the black outline) also cut stem off of this one (just eye-balled a rounded top)
Cut on the outside of the other 2, cutting the stem off of one.
Using the smaller stem-less banana, I traced (in pencil) the banana around the words anywhere that the outline had been cut off in publisher.
I cut out the paper bananas, just to the inside of the ink outline/trimming off just a bit of the ink/pencil marking.
The other, slightly larger, bananas were traced onto yellow felt using a brown marker. I traced an even amount of stemmed and stemless felt banana shapes.
Using the same brown marker I colored the stems of the stemmed ones, and added brown blotches (not on the on pictured) and drew the line (where the banana peel separates) down the entire banana of the stemless felt banana.
Next I ran the paper bananas through my xyron, words side up.
The sticker bananas were placed centered onto the stemmed felt banana.
Using the paper banana as a guide, I cut down the stemless felt banana, about half way, just to the bottom of the invite info.
I spread glue evenly onto the bottom, wordless, half of the paper banana, and stuck the cut felt banana to the paper banana, covering the paper banana.
For the stickers:
I found a good quality curious George logo and snipped (screen shot) the image of "Curious", copied in Paint.
Then, using Word, I made a yellow ? with a shadow and snipped/copied it to the Paint also
I had to edit the Curious part a bit so the ? would show up behind it.
(I couldn't match the font of "curious" perfectly so I thought it would work to put the ? Behind in a similar font/different color rather than try to add a ? to the end of the logo.
Under the curious? I put the words "peel me" in the same font as the ? (ms script bold I think). I added the oval around it all to mimic a Dole or Chiquita sticker.
I saved the sticker image to my computer.
Using Avery.com, I put the image onto mailing labels (2 ovals per mailing label, 3 will fit vertically but 2 horizontally gives some wiggle room)
(the image could be printed a bunch of times on paper then ran through the xyron or just glued but I have a small label obsession.)
Cut out the oval and stick to the banana skin.
Thursday, January 17, 2013
Around the World Party
A good friend of my husband was having a 40th birthday party and his wife asked if she could use our shop for a surprise party. I offered to help plan it. She couldnt decide on a theme until about a week before hand so we didnt have much time. This is what I came up with.
She finally decided to send her husband on an Amazing Race around town, ending in a clue/mission to get the movie "Around the World in 80 Days" from our movie collection. When he arrived after his adventure, a bunch of friends welcomed him with this party.
Walking into the party space we had an Amazing Race inspired Finish Line (but I failed at getting a picture.)
The Welcome Table was world themed. My Friend brought a picture frame (not pictured) for everyone to sign. My personal globe collection decorated the welcome table. There were country themed stickers all over the table and book case behind.
Since we were serving classic American food, so we set up the food tables using 4th of July decorations I had.
At the end of the American food table we set up some chips, salsa, and guacamole with some old fiesta decor I had.
The Dessert table was Europe themed. German Chocolate Cupcakes, "Hungarian" Cream Puffs, and Ice cream "Gelato" sundae stuff. I made a sign that said "Happy Birthday Derek" in German
I did some Googling and found that some of the candies and other sundae toppings could be tied to different European countries and labeled them in the respective languages with respective flags.
The Drinks table was decorated with St. Patrick's Day decor I had on hand. My friend bought beers from all over the world, as the birthday boy is a fan of beers.
Each table had a different continent theme.
This is Austrailia. We hung boomerangs from the rafters, and used some coastal theme decorations that I had on hand for a future party idea. The alligator (crocodile?) came from my father-in-law.
This is Antartica, Its hard to tell but there are white snow flakes hanging above. In the various shaped jars are marshmallows. There is a map of Antartica on the table with some white "snow" batting under. The snow and flakes came from my Christmas decorations.
This table is China. My mother in law picked up some place mats from the Chinese restraunt the night before. I also used a take-home box to stablize a photo of the Chinese flag. My husband's dragon figurines made a centerpiece.
This table represents Africa. We had some Zebra trimmed plastic table clothes left over from a sweet 16 birthday, we cut the edge off and used it as a runner. the middle is a baby blanket in a leopard print with the pink ruffle edges folded under and some toys from my friend's daughters toy collection.
a close up of the "Mexico" section of the table
Ireland before all the drinks
America before the food
Throughout the decor I used photos of different flags. My friend purchased some continent bullitan board stuff from The Learning Palace, a specialty toy/education store in town. She got placemat sized maps of each continent that we used on the tables.
I failed to get a picture of South America. We hung vines and toy snakes and monkeys in a corner of the shop set up with a TV playing Rio for the kids to watch.
Overall, the decorations did not cost much time, or effort to make. Using what we had worked very well, supplementing with a couple trips to the Dollar Tree and The Learning Palace was all it took.
Saturday, November 3, 2012
Lego Party!
I did not plan this party but I wanted to share a few things I did for it and a few cool things about it.
My "nephew" loves Legos so he had a Lego theme birthday party.
My Aunt (his grandma) asked to borrow my cupcake tree. When she told me Lego themed I started looking and found lots of awesome party ideas.
Here are the instructions for the Lego Cupcake tree I made:
First I built some risers for the Cupcaketree rounds out of mega-blocks
The tablecloth is too thin and the ugly cardboard shows through so I cut a circle of white cardstock to cover it.
I also made some red candy treats. I made a 9 brick, (which I was later told doesnt even exist and a red Lego base. I had leftover red melting candies from Ellie's ladybug pretzels. The mini marshmallows tried to melt in the warm candies, so I had to be quick.
My aunt also made this awesome pinata out of a gift box and cut up oatmeal canister. It is a 6 brick because my nephew was turning 6.
My "nephew" loves Legos so he had a Lego theme birthday party.
My Aunt (his grandma) asked to borrow my cupcake tree. When she told me Lego themed I started looking and found lots of awesome party ideas.
Here are the instructions for the Lego Cupcake tree I made:
First I built some risers for the Cupcaketree rounds out of mega-blocks
Next I gathered everything to cover it. One plain rectangle table cloth covered all the rounds.
The top level was used upside down when it was covered with wrapping paper. the tape ripped off some of the white cardboard.
To make the circles look like the green lego bases, I decided to stick circle stickers all over them.
I found a Lego logo on the internet and edited it in Paint to be green.
Next, I used Avery.com to print the logo onto each sticker.
This was me estimating how many sheets I needed to print.
Next we peeled and sticked, trying to keep them in even rows. Ellie helped.,
All assembled. We stuck doublesided tape onto the Mega-blocks to prevent shifting.
Close up
I cannot take credit for the cake or cupcakes. My Aunt and cousin made them.
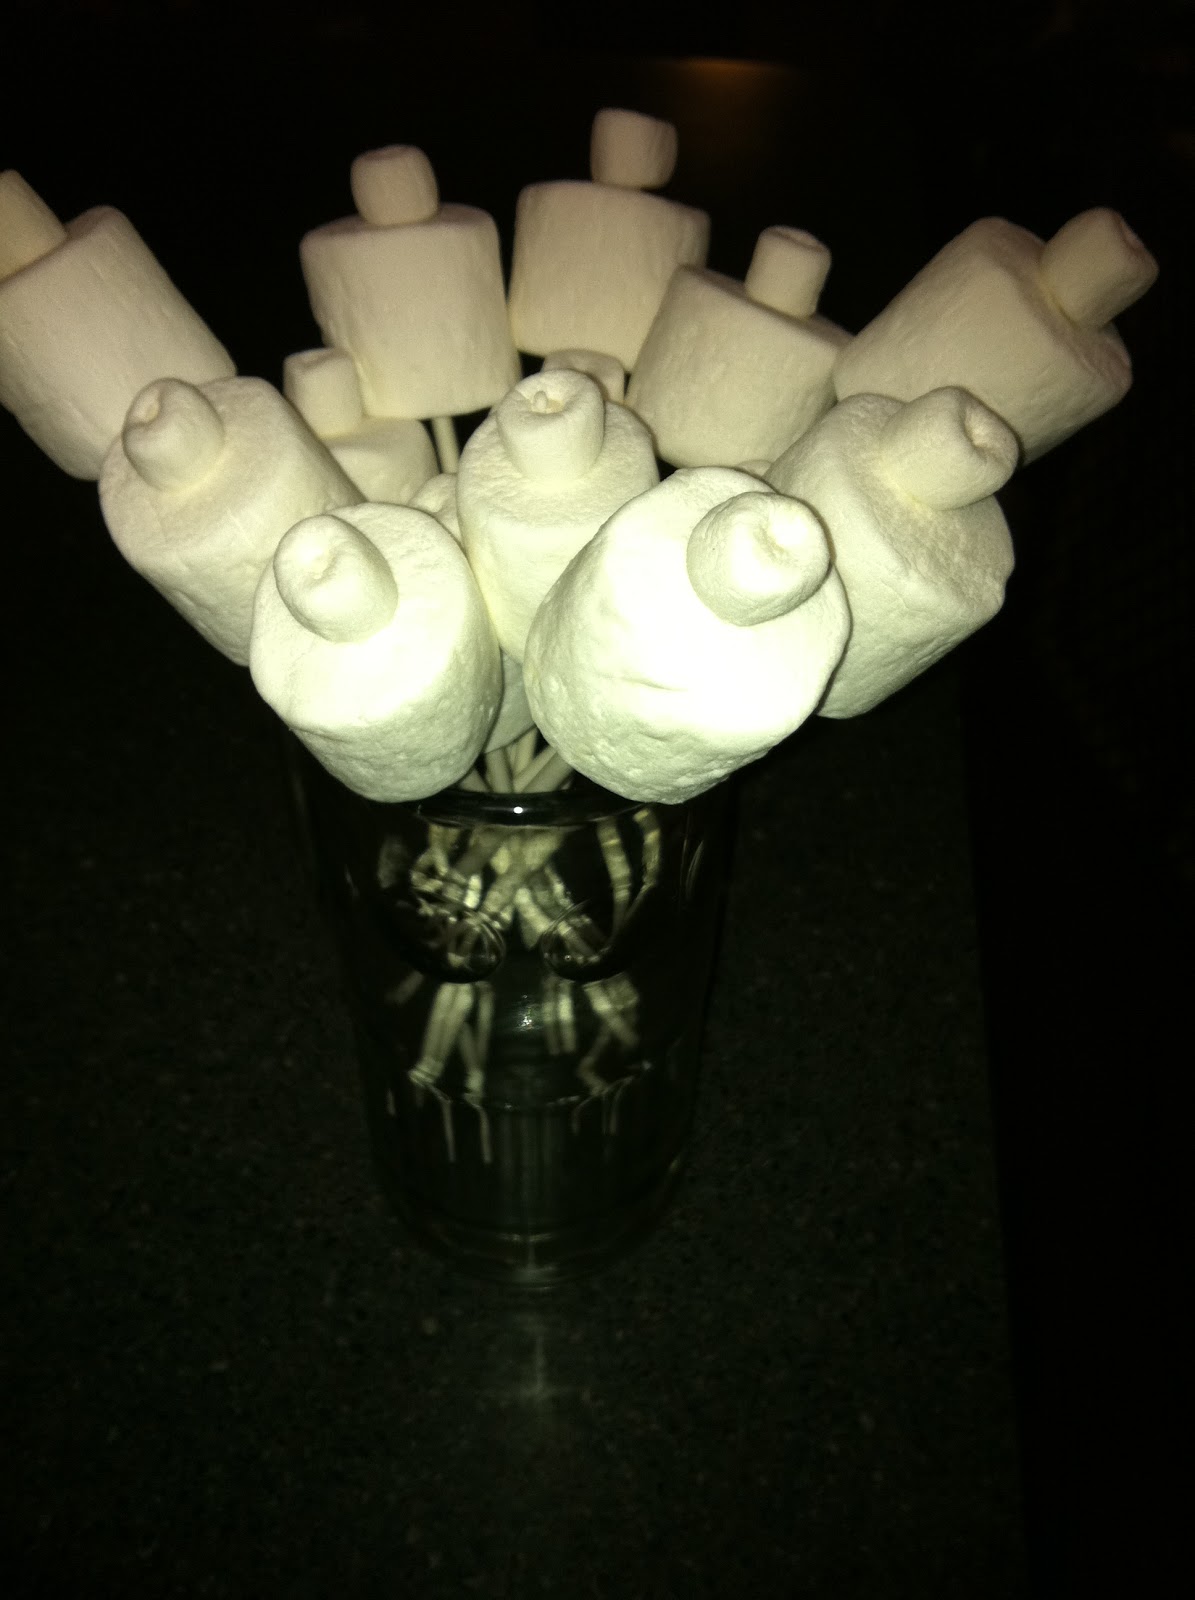
Something I saw when I was looking at Lego Party inspiration were Lego Head Pops
I assembled one regular marshmallow and a mini marshmallow onto candy sticks.
I had a feeling the yellow food coloring wouldnt work in the white candy melts. I was right. The candy seized up and was all lumpy. I did my best to smooth out the faces.
For the faces, I used edible markers.
The markers didnt work so great after a few faces. I think the cold or moisture was a problem.
I also made some chocolate ones.
For the display base, I took a cardboard box lid and covered it with leftover green plastic table cloth. I took styrofoam floral disks and covered them also. They were taped on and the sticks were poked into them.
I also made some red candy treats. I made a 9 brick, (which I was later told doesnt even exist and a red Lego base. I had leftover red melting candies from Ellie's ladybug pretzels. The mini marshmallows tried to melt in the warm candies, so I had to be quick.
For a game, all the guests guessed how many Legos were in the jar.
My aunt also made this awesome pinata out of a gift box and cut up oatmeal canister. It is a 6 brick because my nephew was turning 6.
Subscribe to:
Posts (Atom)